DIY fencing takes center stage, offering homeowners a chance to personalize their outdoor spaces and enhance their property’s value. From classic picket fences to modern privacy panels, the possibilities are endless. This comprehensive guide delves into the world of DIY fencing, providing step-by-step instructions, expert tips, and insightful advice to help you build a fence that’s both functional and aesthetically pleasing.
Table of Contents
Whether you’re a seasoned DIYer or a novice looking to tackle your first project, this guide equips you with the knowledge and confidence to embark on your fencing journey. From choosing the right materials to installing fence posts and attaching panels, we’ll guide you through every stage of the process, ensuring a successful and rewarding experience.
Types of DIY Fencing

Choosing the right type of fencing for your property is an important decision. It can impact your home’s curb appeal, security, and privacy. This section will delve into the various types of fencing materials commonly used in DIY projects, comparing and contrasting their advantages and disadvantages.
Wood Fencing
Wood is a traditional and popular choice for fencing due to its natural beauty, versatility, and affordability.
- Pros: Wood is readily available, easy to work with, and offers a wide range of styles and finishes. It’s relatively inexpensive compared to other materials, making it an attractive option for budget-conscious DIYers.
- Cons: Wood requires regular maintenance, including staining or painting to prevent rot and insect damage. It’s also susceptible to warping, cracking, and weathering over time. Wood fencing can also be prone to fire damage, which may be a concern in certain climates or locations.
Common wood fencing styles include:
- Picket: Classic picket fences are known for their charming, traditional look. They’re often used to define property lines or add a decorative element to a yard.
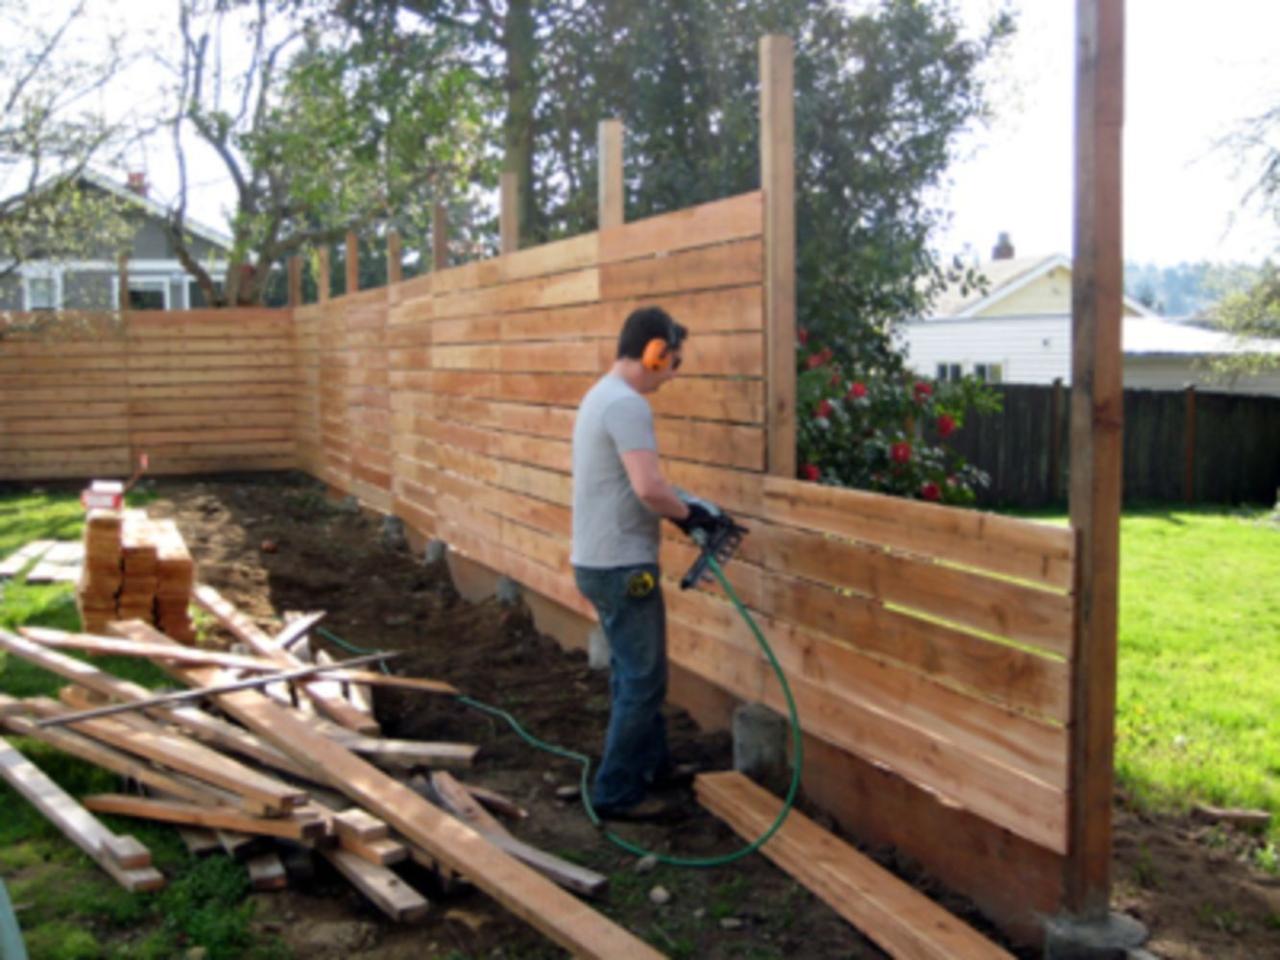
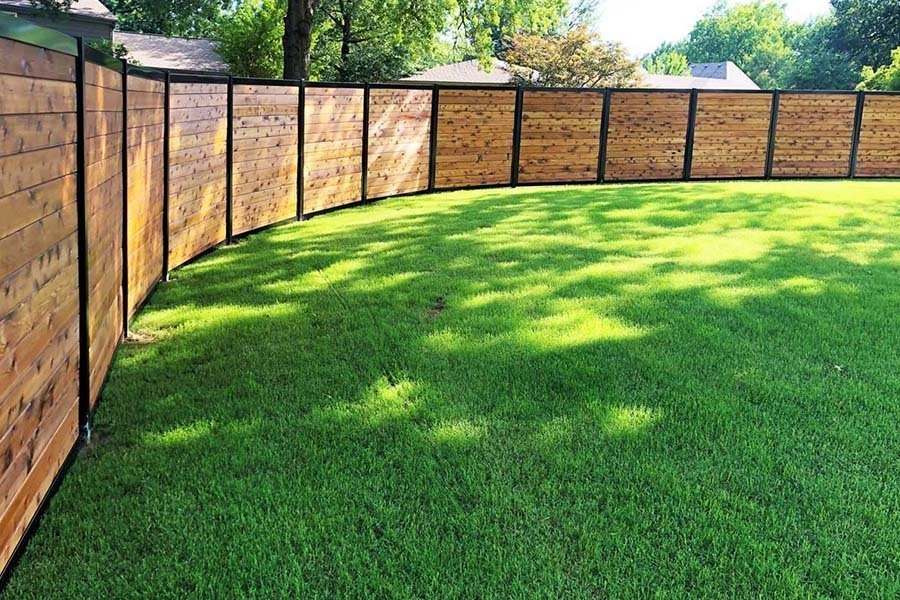
- Privacy: Privacy fences are typically made from solid wood panels and are designed to block views from neighbors or passersby. They’re ideal for creating a secluded space in your yard.
- Rail: Rail fencing, often used for horse pastures or livestock enclosures, consists of horizontal rails supported by posts. It’s a durable and practical choice for areas where visibility is important.
Vinyl Fencing
Vinyl fencing has gained popularity in recent years due to its low-maintenance and durable qualities.
- Pros: Vinyl is resistant to rot, insects, and moisture damage, making it a long-lasting option. It requires minimal maintenance, as it doesn’t need to be stained or painted. Vinyl is also available in various colors and styles to match your home’s aesthetic.
- Cons: Vinyl fencing can be more expensive than wood, especially for high-end styles. It’s also not as strong as wood and can be prone to cracking or breaking under extreme stress. Vinyl can fade in direct sunlight, although newer formulations offer better UV resistance.
Popular vinyl fencing styles include:
- Picket: Vinyl picket fences offer a classic look with the added benefit of low maintenance.
- Privacy: Vinyl privacy fences provide a solid barrier for privacy and security, similar to wood privacy fences.
- Ornamental: Vinyl fencing can be crafted into intricate designs, adding a decorative touch to your property.
Metal Fencing
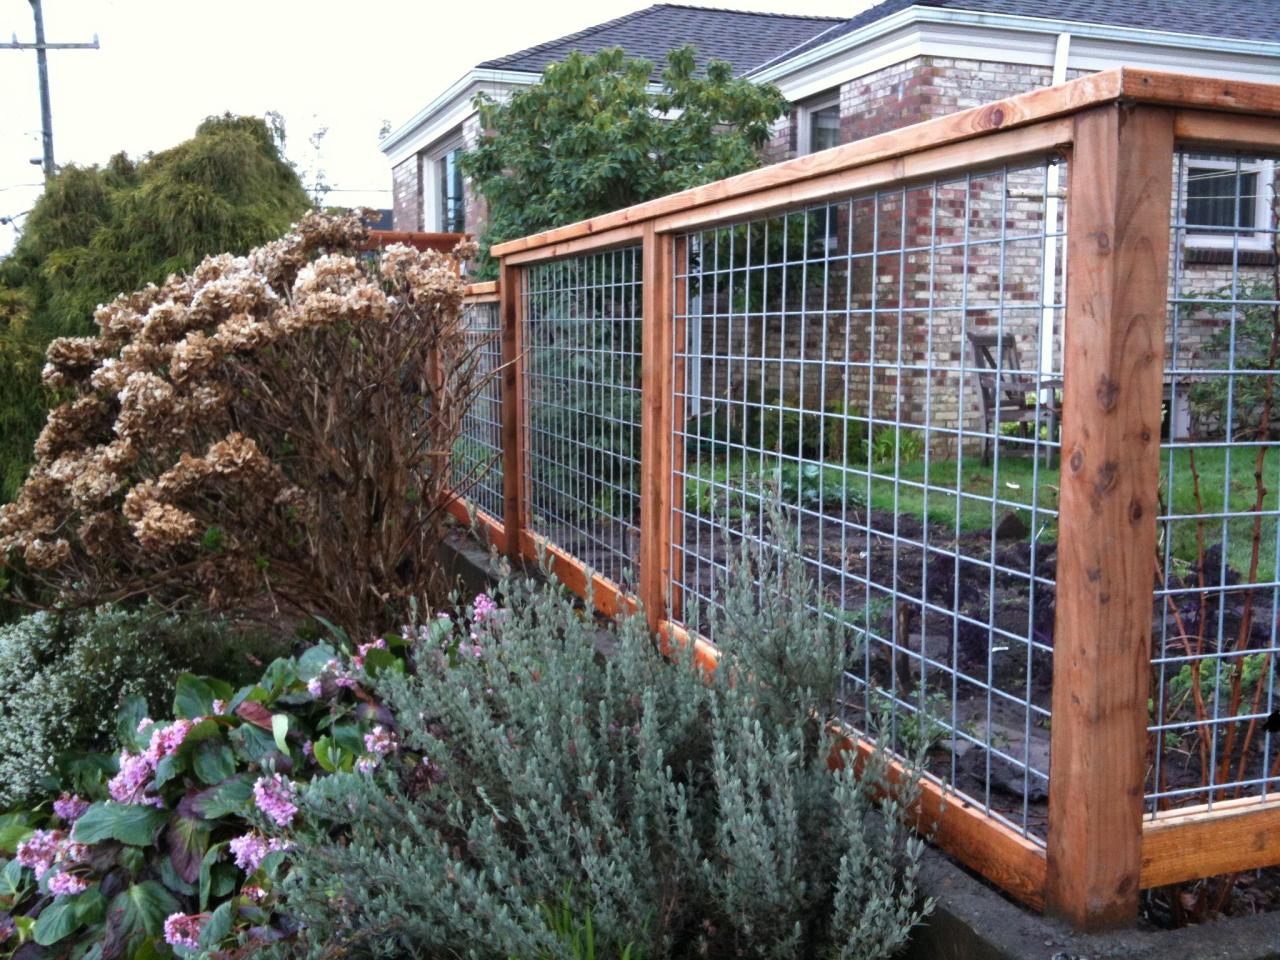
Metal fencing, often made from aluminum, steel, or wrought iron, is known for its durability and security.
- Pros: Metal fencing is highly resistant to weather damage, insects, and rot. It’s also very strong and secure, making it an excellent choice for protecting property or livestock. Metal fencing is available in various styles, from modern to traditional.
- Cons: Metal fencing can be expensive, especially for high-quality materials and elaborate designs. It can also be susceptible to rust and corrosion, especially in humid climates. Metal fencing can be difficult to install, requiring specialized tools and techniques.
Common metal fencing styles include:
- Rail: Metal rail fencing is often used for horse pastures and livestock enclosures due to its durability and visibility.
- Ornamental: Wrought iron fencing is known for its elegant and decorative designs, often featuring intricate patterns and scrolls.
- Security: Metal fencing with sharp points or barbed wire is used for high-security applications, such as prisons or industrial sites.
Composite Fencing
Composite fencing is a relatively new material that combines wood fibers with plastic or recycled materials.
- Pros: Composite fencing offers the look of wood with the durability of vinyl. It’s resistant to rot, insects, and moisture damage, and requires minimal maintenance. Composite fencing is also available in various colors and styles.
- Cons: Composite fencing can be more expensive than wood or vinyl. It can also be prone to fading in direct sunlight, although newer formulations offer better UV resistance. Composite fencing may not be as strong as metal or wood, depending on the specific product.
Composite fencing is often available in:
- Privacy: Composite privacy fences provide a solid barrier for privacy and security, similar to wood or vinyl privacy fences.
- Picket: Composite picket fences offer a classic look with the added benefit of low maintenance.
Planning and Design

Planning and designing your fence is a crucial step in the DIY fencing process. It ensures your fence meets your needs and complements your property’s aesthetics.
Fence Layout, Diy fencing
A well-designed fence layout maximizes functionality and enhances the property’s visual appeal. Consider the following:
- Property Boundaries: Determine the exact location of your property lines to ensure the fence is built within your legal boundaries.
- Existing Structures and Features: Take into account the location of existing structures like houses, sheds, or garages, and landscape features like trees or flower beds.
- Access Points: Plan for gates that provide convenient access to your property, driveway, or backyard.
- Privacy and Security: Consider the level of privacy and security you require. Solid fences offer more privacy than open-style fences.
- Aesthetics: Choose a fence style that complements your home’s architecture and the overall landscape design.
Fence Height, Length, and Gate Placement
Determining the appropriate fence height, length, and gate placement is crucial for functionality and aesthetics.
- Fence Height: Consider local zoning regulations, privacy needs, and the visual impact on your property. Common fence heights range from 4 to 8 feet.
- Fence Length: Measure the perimeter of the area you wish to enclose. Ensure you have enough fencing materials and account for any gates.
- Gate Placement: Choose strategic gate locations for convenient access to different areas of your property.
Tools and Materials
A comprehensive list of tools and materials is essential for a successful DIY fencing project.
- Tools:
- Post-hole digger or auger
- Level
- Measuring tape
- Hammer
- Saw
- Safety glasses and gloves
- Screwdriver or drill
- Concrete mixer (if using concrete for post installation)
- Materials:
- Fence posts (wood, metal, or vinyl)
- Fence rails (wood, metal, or vinyl)
- Fence pickets (wood, metal, or vinyl)
- Gate hardware (hinges, latch, handles)
- Concrete mix (for post installation)
- Fasteners (screws, nails, or staples)
- Wood preservative or paint (optional)
Preparing the Fence Line
Before you can start building your fence, you need to prepare the area where it will be installed. This includes clearing the fence line, marking the fence line, and digging post holes.
Clearing the Fence Line
It’s crucial to clear the fence line of any vegetation and debris. This ensures a level and stable foundation for your fence.
- Remove any trees, shrubs, or other vegetation that might interfere with the fence line.
- Clear any rocks, branches, or other debris that might obstruct the fence line.
- Consider using a weed trimmer or brush cutter to clear smaller vegetation.
- For larger trees or shrubs, you might need to use a chainsaw or hand tools.
- If you encounter underground utilities, such as gas lines or electrical cables, contact your local utility company before proceeding.
Marking the Fence Line
Once the fence line is clear, you can mark it using stakes and string. This will help you ensure that the fence is straight and aligned.
- Use stakes to mark the corners of the fence line.
- Attach a string to the stakes, running the string along the fence line.
- Ensure the string is taut and level, using a level to adjust the stakes if necessary.
- You can use a measuring tape to mark the position of each fence post along the string line.
Digging Post Holes
After marking the fence line, you need to dig post holes for the fence posts.
- The depth and width of the post holes will depend on the type of fence posts you are using and the soil conditions.
- For most fence posts, you will need to dig holes that are at least 3 feet deep and 12 inches wide.
- You can use a post hole digger, an auger, or a shovel to dig the holes.
- Ensure the holes are dug straight and at the correct depth.
- If you are installing a fence on a slope, you will need to adjust the depth of the post holes to ensure that the fence is level.
Installing Fence Posts
Installing fence posts is a crucial step in building a sturdy and long-lasting fence. Proper techniques ensure that your posts remain stable and secure, supporting the fence panels for years to come.
Setting Posts in Concrete
Concrete is the most common and reliable method for setting fence posts. It provides the necessary strength and stability to withstand various weather conditions and prevent the posts from shifting or rotting.
Here are the steps for setting fence posts in concrete:
- Dig the holes: Use a post hole digger to create holes that are deep enough to bury at least one-third of the post’s length. The hole should be wider than the post to allow for adequate concrete placement.
- Install the post: Place the post in the hole, ensuring it is plumb and level. Use a level to check the vertical and horizontal alignment. You can temporarily secure the post with stakes or braces.
- Prepare the concrete mix: Follow the manufacturer’s instructions for mixing concrete. A typical ratio is 1 part cement, 2 parts sand, and 3 parts gravel.
- Pour the concrete: Pour the concrete mix into the hole, making sure to fill it completely around the post. Use a trowel to compact the concrete and eliminate any air pockets.
- Level the post: Use a level to ensure the post is plumb and level. Make any necessary adjustments by tapping the post gently with a rubber mallet.
- Allow the concrete to cure: Allow the concrete to cure for at least 24 hours before applying any pressure to the post. The concrete will reach full strength after about 28 days.
Leveling and Securing Posts
Leveling and securing fence posts are essential for ensuring a straight and even fence line.
- Use a level: Check the post’s vertical and horizontal alignment using a level. Adjust the post as needed by tapping it gently with a rubber mallet.
- Secure with concrete: Once the post is level, use concrete to secure it in place. Make sure the concrete fills the hole completely and reaches the top of the post.
- Use post anchors: Post anchors are metal brackets that attach to the post and extend into the concrete. They provide extra stability and prevent the post from rotating.
- Use post brackets: Post brackets are metal plates that attach to the post and extend into the ground. They provide extra support and prevent the post from moving sideways.
Ensuring Post Stability and Longevity
Here are some tips for ensuring the stability and longevity of your fence posts:
- Choose the right post material: Pressure-treated lumber, cedar, and redwood are good choices for fence posts as they resist rot and decay.
- Use the correct post size: The size of the post should be appropriate for the height and weight of the fence.
- Properly prepare the post: Before setting the post, make sure it is free of any dirt, debris, or moisture.
- Protect the post from moisture: Paint or stain the post to protect it from moisture and extend its lifespan.
Attaching Fence Rails and Panels: Diy Fencing

Now that the posts are in place, it’s time to add the rails and panels that will form the actual fence. This step involves attaching horizontal rails to the posts, creating a framework for the fence panels. The process can be slightly different depending on whether you are using pre-made panels or constructing your own.
Attaching Fence Rails
Attaching fence rails is a crucial step in creating a sturdy and aesthetically pleasing fence. This process involves securing horizontal rails to the posts, providing a framework for the fence panels. The rails can be made of various materials, including wood, vinyl, or metal, depending on your fence style and budget.
- Measure and mark the rail positions: Start by measuring the distance between the posts and marking the positions for the rails. Ensure the rails are level and spaced evenly. You may need to adjust the spacing based on the type of fence panels you are using.
- Secure the rails to the posts: Use screws or nails to attach the rails to the posts. Make sure to use appropriate fasteners and pilot holes to prevent splitting the wood. For extra stability, you can use galvanized steel brackets to reinforce the connections.
- Ensure proper alignment: Double-check that the rails are aligned and level before moving on to the next step. Use a level to ensure accuracy. This step is essential for a visually appealing and structurally sound fence.
Installing Fence Panels
Installing fence panels is the final step in constructing your fence. This involves attaching pre-made panels to the rail framework. The process is relatively straightforward and can be completed quickly with the right tools and techniques.
- Align the panels: Start by aligning the first panel with the rails. Make sure the bottom of the panel is flush with the ground and the top is level. You may need to adjust the position slightly to ensure a snug fit.
- Secure the panels: Once the panel is aligned, use screws or nails to attach it to the rails. Use appropriate fasteners and pilot holes to prevent splitting the wood. You may need to use a drill with a countersinking bit to create countersunk holes for the screws, which will give a more finished look.
- Repeat for remaining panels: Repeat the process for the remaining panels, ensuring that they are aligned and secured to the rails. Pay attention to the alignment of the panels to create a uniform and aesthetically pleasing fence.
Final Thoughts
With careful planning, proper execution, and a touch of creativity, you can transform your backyard into a haven of peace and privacy. DIY fencing empowers you to create a space that reflects your personal style and meets your specific needs. So, gather your tools, embrace the challenge, and embark on a rewarding DIY fencing project that will enhance your home and create lasting memories for years to come.
Building your own fence can be a rewarding project, especially if you’re looking to add a personal touch to your property. Before you get started, it’s helpful to have a good plan and to organize your materials. You can use a free program like wps office free download to create detailed diagrams and lists.
This will help you stay on track and ensure you have everything you need to complete your DIY fencing project successfully.
