Screen capture windows, the art of capturing what’s displayed on your screen, is a powerful tool for countless tasks. From capturing a specific window to recording a full-screen video, the ability to preserve digital content is essential for various purposes, including tutorials, presentations, and even documentation. Whether you’re a seasoned tech enthusiast or a casual user, understanding the different methods and techniques of screen capture is key to harnessing its full potential.
Table of Contents
This comprehensive guide will explore the built-in tools available within Windows, delve into popular third-party applications, and provide step-by-step instructions for various capture techniques. We’ll also cover important considerations regarding image editing, saving, and sharing, along with security and privacy best practices. By the end of this guide, you’ll be equipped with the knowledge and skills to confidently capture and utilize screen content for any purpose.
Screen Capture in Windows
Screen capture is a fundamental feature in Windows that allows users to capture images of their computer screen. This functionality proves invaluable for various purposes, from documenting work processes to creating tutorials and sharing visual information.
Screen Capture Methods
Windows offers several methods for capturing screenshots, each catering to different needs and preferences.
- Print Screen Key (PrtScn): The classic method, pressing the Print Screen key captures the entire screen and copies it to the clipboard. Users can then paste the image into an image editor or other applications.
- Alt + Print Screen: This combination captures only the active window, ideal for isolating specific applications or dialog boxes.
- Windows Key + Print Screen: This shortcut captures the entire screen and saves it as a PNG file in the Pictures folder, eliminating the need for manual pasting.
- Windows Key + Shift + S: This combination activates the Snipping Tool, offering a more flexible approach to capturing specific areas of the screen. Users can select a rectangular region, a free-form shape, or a full-screen capture.
- Snipping Tool: This built-in Windows application provides a user-friendly interface for capturing and annotating screenshots. The Snipping Tool allows users to capture specific areas, delay captures, and even add basic annotations to the images.
Importance of Screen Capture
Screen capture plays a vital role in various scenarios, enhancing productivity, communication, and documentation.
- Technical Support: Users can capture screenshots to illustrate problems they are experiencing, providing clear visual context to support technicians.
- Tutorials and Demonstrations: Screen captures are essential for creating tutorials and demonstrations, guiding users through software or processes step-by-step.
- Documentation: Capturing screenshots can be valuable for documenting work processes, procedures, or system configurations, ensuring consistency and accuracy.
- Social Media and Communication: Sharing screenshots on social media or in online discussions facilitates visual communication and helps convey information effectively.
- Education: Screen captures are widely used in educational settings to create visual aids, present information, and share examples.
Capture Techniques: Screen Capture Windows
Screen capture techniques provide different ways to capture content on your screen, whether it’s a single window, a specific area, or the entire screen. These techniques allow you to save images, share information, or create documentation for various purposes.
Capturing the Entire Screen
Capturing the entire screen allows you to capture everything displayed on your monitor at a given moment. This is useful for taking a snapshot of a webpage, a presentation, or any other content that occupies the entire screen.
- Press the Print Screen (PrtScn) key on your keyboard. This will copy a screenshot of your entire screen to the clipboard.
- Open an image editing program like Paint or Microsoft Paint, and paste the captured image by pressing Ctrl + V.
- Save the image to your computer.
Capturing a Specific Window
Capturing a specific window allows you to isolate and capture only the content within that window, excluding any other elements on the screen. This is useful for capturing a specific application, a dialogue box, or any other windowed content.
- Press Alt + Print Screen (PrtScn). This will capture only the active window and copy it to the clipboard.
- Open an image editing program and paste the captured image.
- Save the image to your computer.
Capturing a Selected Area
Capturing a selected area provides flexibility in capturing only the portion of the screen you want. This is useful for capturing a specific section of a webpage, a part of a document, or any other area of interest.
- Press the Windows + Shift + S keys. This will activate the “Select area” tool.
- Use your mouse to drag a rectangle around the area you want to capture.
- The captured image will be automatically copied to the clipboard.
- Open an image editing program and paste the captured image.
- Save the image to your computer.
Capturing a Scrolling Window
Capturing a scrolling window allows you to capture the entire content of a window, even if it extends beyond the visible screen area. This is useful for capturing long web pages, documents, or any other content that requires scrolling.
- Use a third-party screen capture tool specifically designed for capturing scrolling windows. These tools typically provide features like “scroll capture” or “full page capture”.
- Open the window you want to capture and select the “scroll capture” option in the tool.
- The tool will capture the entire window, including the content that extends beyond the visible screen area.
- Save the captured image to your computer.
Capturing a Video of Screen Activity
Capturing a video of screen activity allows you to record a sequence of actions, such as a software demonstration, a gameplay session, or a presentation.
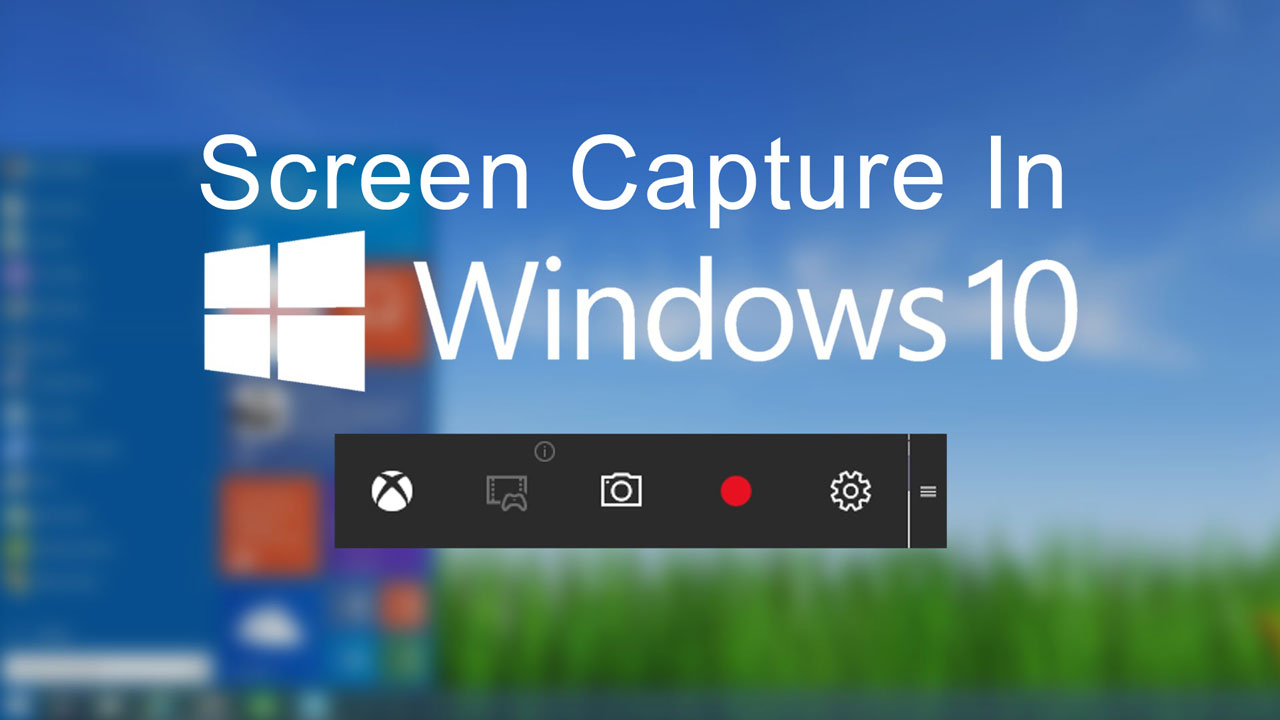
- Use a screen recording tool like Xbox Game Bar (built-in to Windows 10 and later), OBS Studio, or Camtasia. These tools offer various recording features and settings.
- Open the tool and configure the recording settings, such as video resolution, frame rate, and audio source.
- Start recording and perform the actions you want to capture.
- Stop recording when you’re finished.
- Save the recorded video to your computer.
Security and Privacy

Screen capture, while a powerful tool for communication and documentation, also presents potential security and privacy risks. It’s crucial to be aware of these risks and take steps to protect your data and maintain privacy.
Security Risks, Screen capture windows
Screen capture can expose sensitive information if not used carefully. Here are some common security risks:
- Accidental Capture of Confidential Data: Capturing your screen can unintentionally capture sensitive information, such as passwords, financial details, or confidential documents displayed on your screen. This information could be easily accessible to others if the captured image is shared or falls into the wrong hands.
- Malware and Spyware: Some screen capture tools can be infected with malware or spyware, which can steal your personal information or allow unauthorized access to your device. Always download screen capture tools from trusted sources and ensure they are updated regularly.
- Data Breaches: If you use a screen capture tool that stores captured images online, there is a risk of data breaches. If the tool’s servers are compromised, your captured images could be stolen or leaked.
Privacy Concerns
Using screen capture tools raises privacy concerns, especially when capturing images of other people or sensitive information.
- Capturing Images of Others Without Consent: Capturing images of others without their consent can be a violation of their privacy, particularly in public spaces. It’s important to respect people’s privacy and obtain consent before capturing their image.
- Sharing Sensitive Information: Sharing screen captures containing personal or confidential information, even with trusted individuals, can be a breach of privacy. Always be mindful of the content you capture and share.
Tips for Safe and Responsible Screen Capture
To use screen capture safely and responsibly, follow these tips:
- Use Trusted Tools: Download screen capture tools from reputable sources and keep them updated to minimize the risk of malware or spyware.
- Be Mindful of What You Capture: Before capturing your screen, be aware of any sensitive information that might be displayed, such as passwords, financial details, or confidential documents. If necessary, temporarily hide or blur such information.
- Obtain Consent: Before capturing images of others, especially in public spaces, ask for their consent. This is crucial for respecting their privacy and avoiding potential legal issues.
- Limit Sharing: Be cautious about sharing screen captures, especially those containing sensitive information. Share only with trusted individuals and avoid posting on public platforms.
- Use Privacy Features: Some screen capture tools offer privacy features, such as blurring sensitive information or redacting specific areas of the captured image. Use these features whenever possible to protect sensitive data.
Best Practices

Screen capture tools are invaluable for various tasks, from documentation and tutorials to presentations and social media sharing. By adopting best practices, you can ensure your screen captures are of high quality and serve their intended purpose effectively.
Choosing the Right Screen Capture Tool
The best screen capture tool for you depends on your specific needs. Consider these factors:
- Functionality: Do you need basic screen capture, video recording, annotation features, or advanced editing capabilities?
- Operating System Compatibility: Ensure the tool is compatible with your operating system.
- Ease of Use: Choose a tool with an intuitive interface and straightforward controls.
- Free vs. Paid: Evaluate your budget and the features offered by free and paid options.
Optimizing Screen Capture Settings
- Resolution: Capture at a high resolution (e.g., 1920×1080) for sharp and detailed images.
- Format: PNG for lossless compression and high-quality images, JPG for smaller file sizes.
- File Size: Balance quality with file size, especially for web sharing.
- Frame Rate: For video recording, choose a frame rate that matches your desired smoothness.
Ensuring High-Quality Screen Captures
- Minimize Distractions: Close unnecessary windows and applications to avoid clutter in your captures.
- Adjust Screen Brightness: Ensure your screen is well-lit for optimal image clarity.
- Use a Stable Hand: If capturing manually, keep your hand steady for sharp images.
- Optimize for Your Purpose: Tailor settings and techniques to the intended use of your captures.
Final Thoughts
Mastering screen capture windows opens a world of possibilities, allowing you to share knowledge, document processes, and create engaging content. From simple snapshots to intricate video recordings, the techniques and tools discussed in this guide empower you to capture and utilize digital information with ease. Whether you’re a professional seeking to streamline workflows or an individual looking to enhance communication, understanding screen capture is an invaluable skill in today’s digital age.
Screen capture windows are a handy tool for capturing specific sections of your screen, often used for tutorials or to share information. But sometimes, you might need to capture a window that’s hidden behind others, requiring a tool like keyfinder to identify the window’s location and bring it to the front.
Once you’ve brought the window to the forefront, you can easily capture it using your preferred screen capture tool.
